
The Perfect Chocolate Cake Recipe by LXURI – Please note: Many or all of the products featured here are from our partners, who compensate us. This may influence which products we write about, as well as where and how they appear on a page. However, this does not influence our evaluations. Our opinions are our own.
Introduction: Why the Perfect Chocolate Cake Never Goes Out of Style
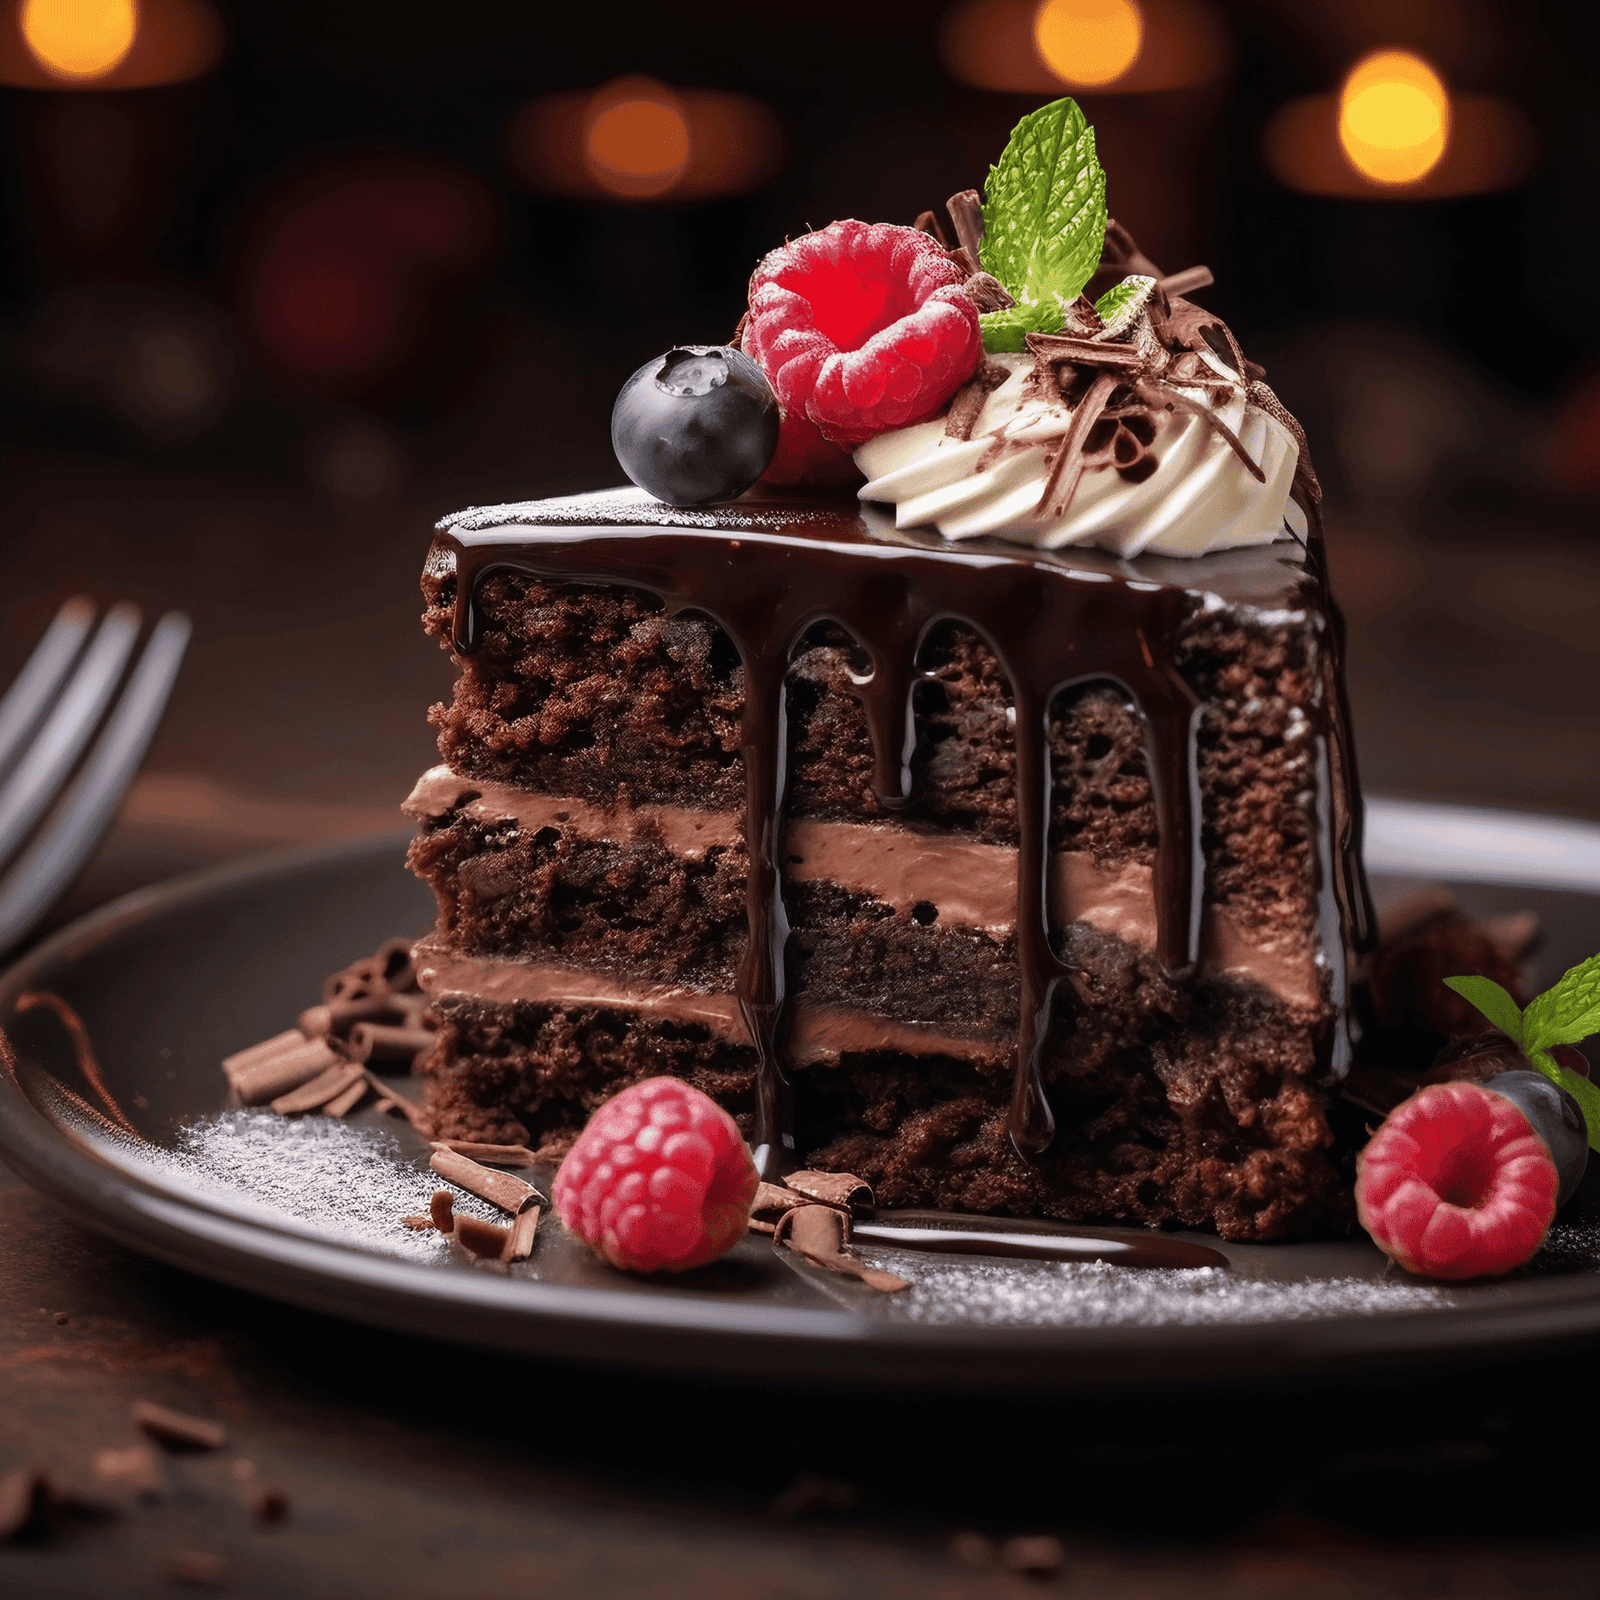
There are few desserts as universally loved as a perfectly baked chocolate cake. Whether it’s served at a birthday celebration, an anniversary dinner, or a relaxed Sunday gathering, this timeless dessert always feels appropriate. More importantly, when made from scratch, chocolate cake becomes something extraordinary.
Unlike boxed mixes, a homemade chocolate cake offers full control over flavor, texture, and richness. As a result, each slice delivers deep cocoa notes, a moist crumb, and a luxurious mouthfeel that feels intentional and indulgent. Meanwhile, the process itself becomes part of the pleasure.
This guide walks you through the perfect chocolate cake recipe, step by step. In addition, it includes expert baking tips, essential tools, creative frosting and decorating ideas, and guidance on presentation. Together, these elements ensure your cake feels different every time—yet flawless every single bake. Explore more from KitchenAid at LXURI.
The Foundation of a Perfect Chocolate Cake
A truly exceptional chocolate cake begins with balance. The right ratio of cocoa, fat, sugar, and liquid creates depth without heaviness. Furthermore, proper mixing and temperature control help preserve moisture and structure.
Unlike overly sweet cakes, this recipe focuses on cocoa-forward flavor. Therefore, it pairs beautifully with a wide range of frostings and decorations. In short, it becomes a versatile base you can return to again and again.
Ingredients for the Perfect Chocolate Cake
Quality ingredients matter. Therefore, choose fresh, well-sourced components for the best possible result.
Dry Ingredients
- 1¾ cups all-purpose flour
- ¾ cup high-quality unsweetened cocoa powder
- 2 cups granulated sugar
- 1½ teaspoons baking powder
- 1½ teaspoons baking soda
- 1 teaspoon fine sea salt
Wet Ingredients
- 2 large eggs, room temperature
- 1 cup whole milk
- ½ cup neutral oil
- 2 teaspoons pure vanilla extract
- 1 cup freshly brewed hot coffee
Essential Tools for Baking Success
Using the right tools ensures consistency, precision, and ease.
Must-Have Baking Tools
- KitchenAid Stand Mixer with paddle attachment
- Mixing bowls in multiple sizes
- Measuring cups and spoons
- Rubber spatula
- Fine mesh sieve
- Two 9-inch round cake pans
- Parchment paper
- Wire cooling rack
Meanwhile, investing in quality equipment saves time and improves results over the long term.
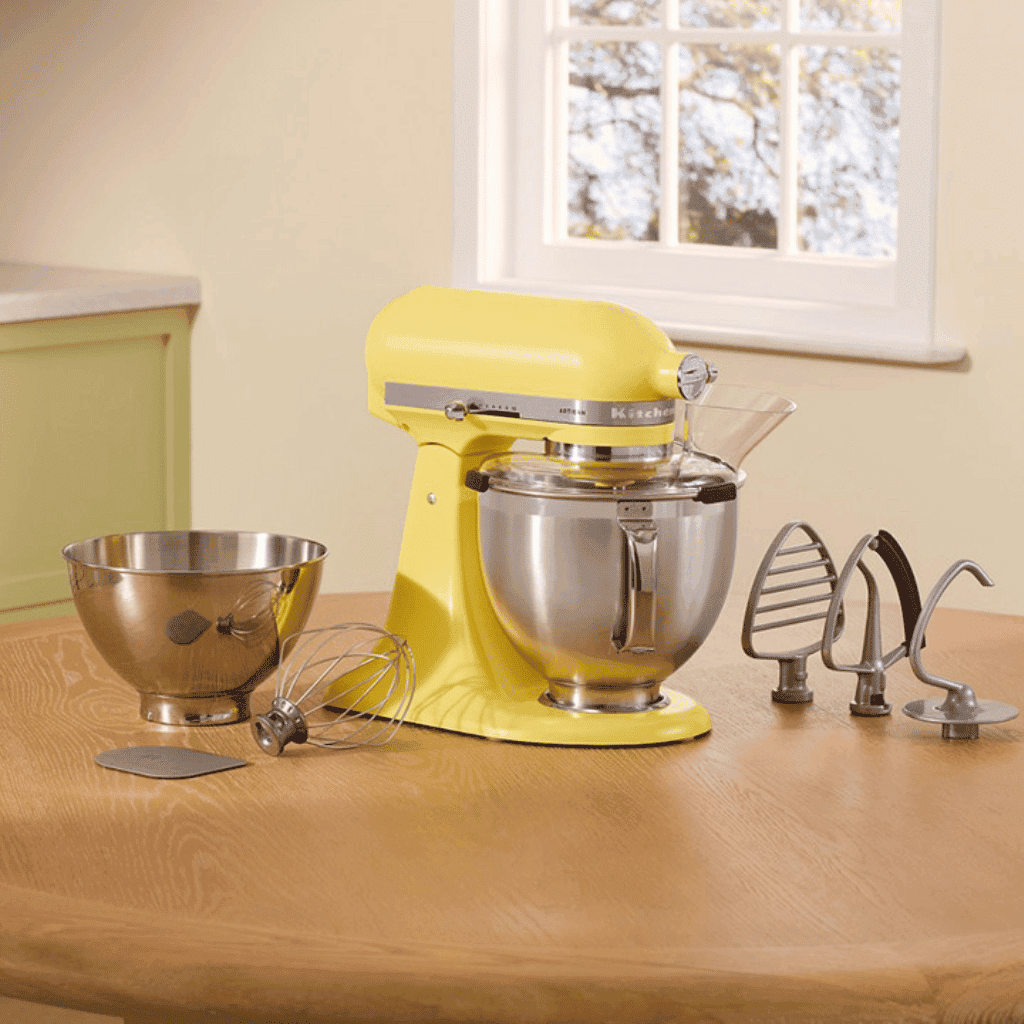
Why KitchenAid Stand Mixers Elevate Home Baking
Precision matters in baking. Therefore, using a professional-grade stand mixer significantly improves results.
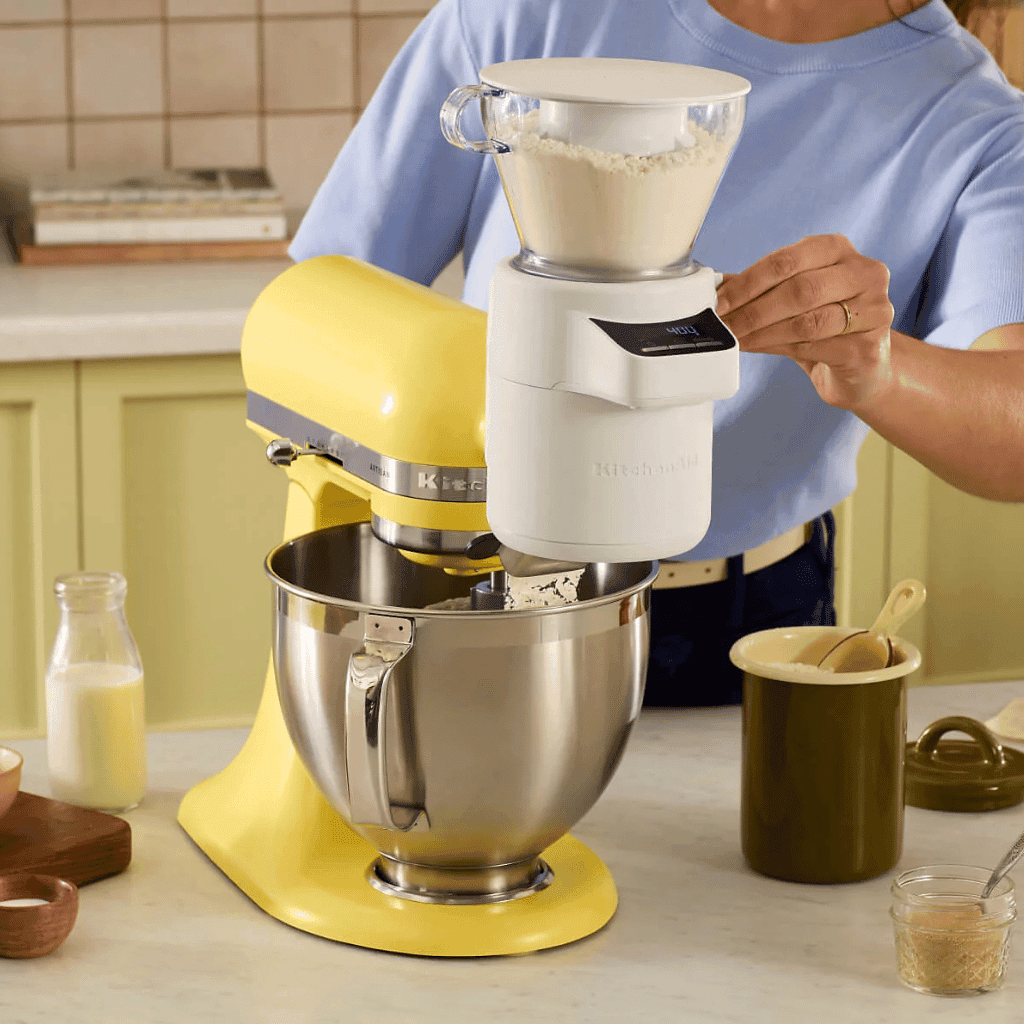
KitchenAid stand mixers provide consistent speed control, even mixing, and durability that lasts for years. Moreover, their powerful motors handle dense batters without overworking ingredients. As a result, cakes maintain tenderness and structure.
In addition, the paddle attachment ensures smooth blending without excess aeration. This balance is essential for chocolate cake, where richness should never feel dry or crumbly.
For home bakers who value reliability, KitchenAid mixers become an indispensable part of the kitchen.

Step-by-Step Instructions for Baking the Perfect Chocolate Cake
Step 1: Prepare the Pans
Preheat the oven to 350°F. Grease two round cake pans thoroughly. Then, line the bottoms with parchment paper and lightly dust with cocoa powder.
Step 2: Combine the Dry Ingredients
In a large bowl, sift together flour, cocoa powder, sugar, baking powder, baking soda, and salt. This step prevents lumps and ensures even distribution.
Step 3: Mix the Wet Ingredients
In the bowl of a stand mixer, combine eggs, milk, oil, and vanilla. Mix on medium speed until smooth and cohesive.
Step 4: Bring Everything Together
Gradually add the dry ingredients to the wet mixture. Mix until just combined. Then, slowly pour in the hot coffee while mixing on low speed.
Although the batter will appear thin, this is expected. As a result, the cake bakes up exceptionally moist.
Step 5: Bake
Divide the batter evenly between pans. Bake for 30–35 minutes, or until a toothpick inserted into the center comes out clean.
Step 6: Cool Completely
Allow cakes to cool in pans for 10 minutes. Then, transfer to a wire rack. Cool fully before frosting.
Expert Tips for a Moist, Bakery-Quality Cake
Even the best recipe benefits from thoughtful technique.
- Use room-temperature ingredients for better emulsification
- Measure flour accurately to avoid dryness
- Do not overmix once flour is added
- Always cool cakes completely before frosting
- Store layers wrapped tightly if frosting later
Meanwhile, patience remains just as important as precision.
Classic and Creative Frosting Ideas
One of the joys of a perfect chocolate cake lies in its adaptability. Each frosting transforms the cake into something entirely new.
Classic Chocolate Buttercream
Rich, smooth, and indulgent. Ideal for traditional celebrations.
Silky Chocolate Ganache
Glossy and dramatic. Perfect for elegant dinners or anniversaries.
Vanilla Bean Buttercream
Light and aromatic. Balances the depth of chocolate beautifully.
Cream Cheese Frosting
Tangy and smooth. Adds contrast without overpowering the cake.
Espresso Chocolate Frosting
Bold and sophisticated. Enhances cocoa flavor with subtle bitterness.
Decorating Ideas for Every Occasion
Decorating changes the mood of the cake instantly. Therefore, small details matter.
Birthday Celebrations
- Colorful sprinkles or chocolate curls
- Candles arranged symmetrically
- Layered frosting with piped borders
Anniversaries
- Dark chocolate shavings
- Fresh berries
- Minimalist design with smooth edges
Sunday Dinners
- Light dusting of cocoa powder
- Rustic frosting finish
- Simple serving style
Meanwhile, restraint often feels more luxurious than excess.
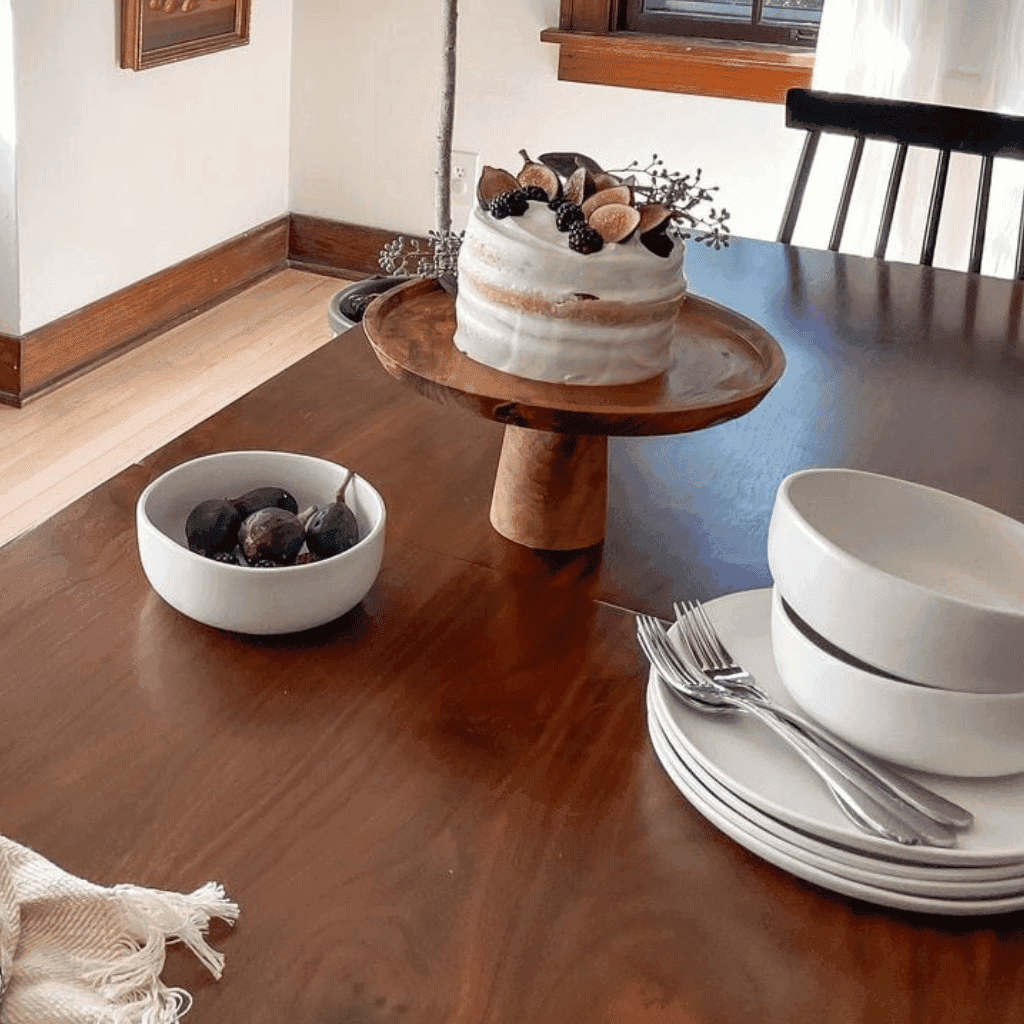
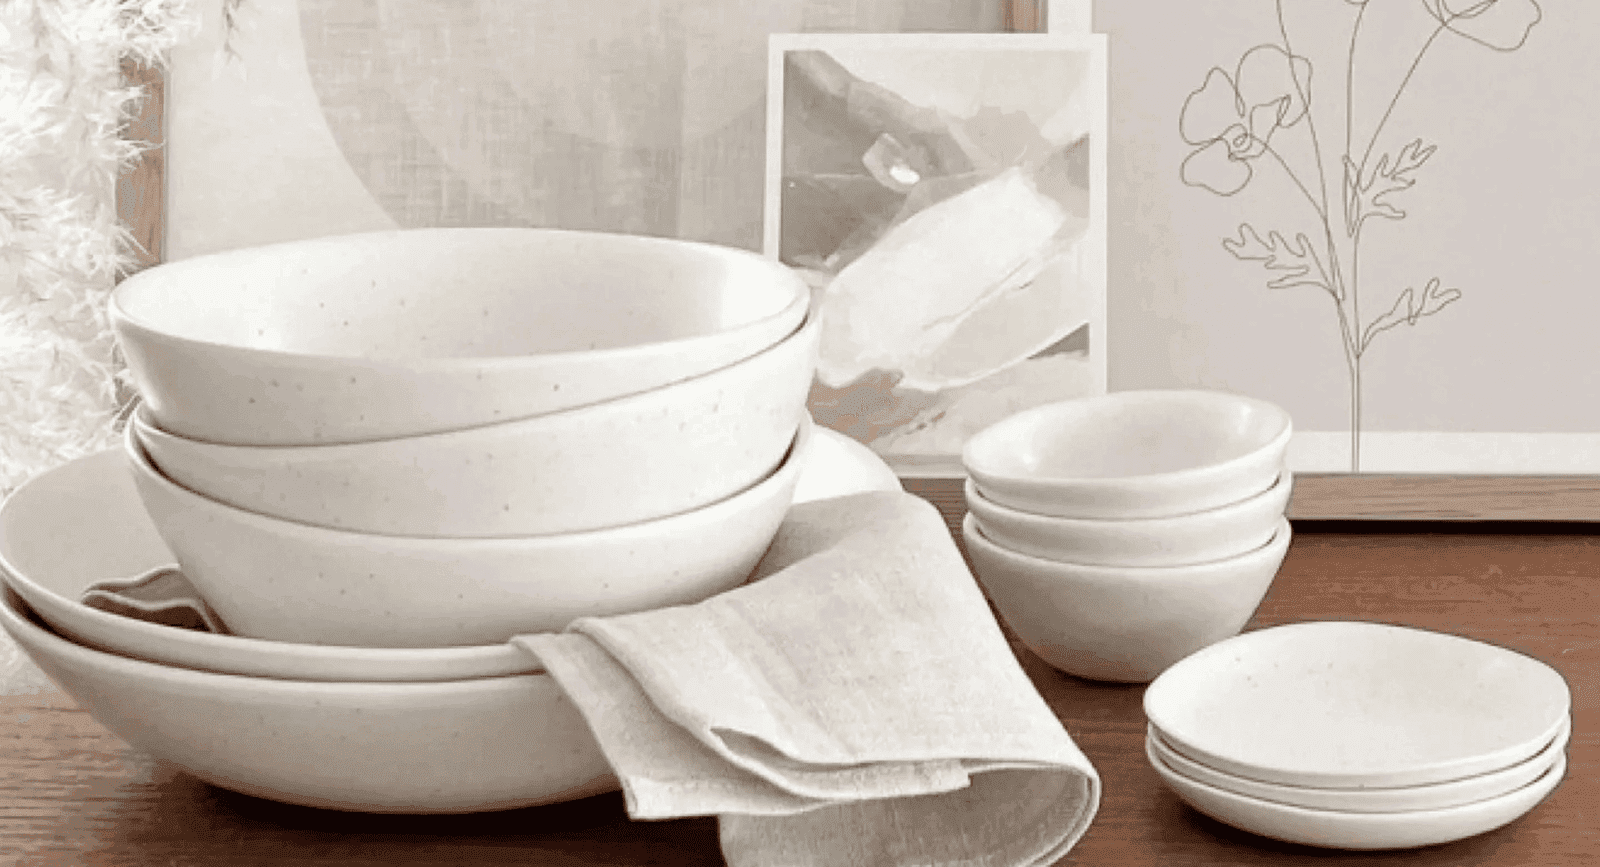
Serving the Cake with Eco-Friendly Style
Presentation completes the experience. Therefore, thoughtful serveware elevates even casual moments.
Eco-friendly serving platters and dessert plates crafted from durable, non-toxic materials bring both beauty and responsibility to the table. Their soft matte finishes and neutral tones complement chocolate cake without distraction.
In addition, sustainable serveware supports mindful living while maintaining a refined aesthetic. This balance feels especially appropriate for gatherings centered around warmth and connection.
Storage and Make-Ahead Tips
- Store unfrosted layers tightly wrapped at room temperature
- Refrigerate frosted cakes lightly covered
- Bring cake to room temperature before serving
- Freeze layers for up to three months if needed
As a result, planning becomes stress-free.
Troubleshooting Common Chocolate Cake Issues
Even experienced bakers encounter challenges. Fortunately, most issues are easily fixed.
- Dry cake: Too much flour or overbaking
- Dense texture: Overmixing batter
- Sunken center: Oven temperature too low
- Bitter taste: Low-quality cocoa powder
Therefore, small adjustments make a big difference.
Why This Recipe Works Every Time
This chocolate cake recipe succeeds because it balances richness, moisture, and structure. Meanwhile, it remains adaptable enough to suit countless occasions. Whether dressed up or kept simple, it always delivers comfort and elegance.
Moreover, mastering one reliable recipe allows creativity to flourish elsewhere—through frosting, decoration, and presentation.
Conclusion: A Chocolate Cake Worth Repeating
The perfect chocolate cake is more than a dessert. It’s a ritual, a celebration, and a shared moment around the table. By baking from scratch, you bring intention and care into every bite.
With the right tools, thoughtful techniques, and inspired presentation, this recipe becomes a staple you’ll return to for years. Whether it’s a birthday, an anniversary, or a quiet Sunday afternoon, this cake always feels just right.
Discover more from LXURI
- Fable Dinnerware: The Ultimate Guide to Intentional Tables
- The Ultimate Healthy Green Smoothie Recipe
- The Easter Collection by zChocolat: A Celebration of French Confectionery Excellence
- The Ultimate Cinnamon Roll Recipe
- Healthy Breakfast Smoothie Recipe: The Ultimate Morning Blend
- KitchenAid Espresso Machines Review: Automatic vs Semi-Automatic

LXURI Welcomes Johnstons of Elgin
LXURI is proud to announce our newest brand partner: Johnstons of Elgin, a Scottish heritage brand renowned for its[…]
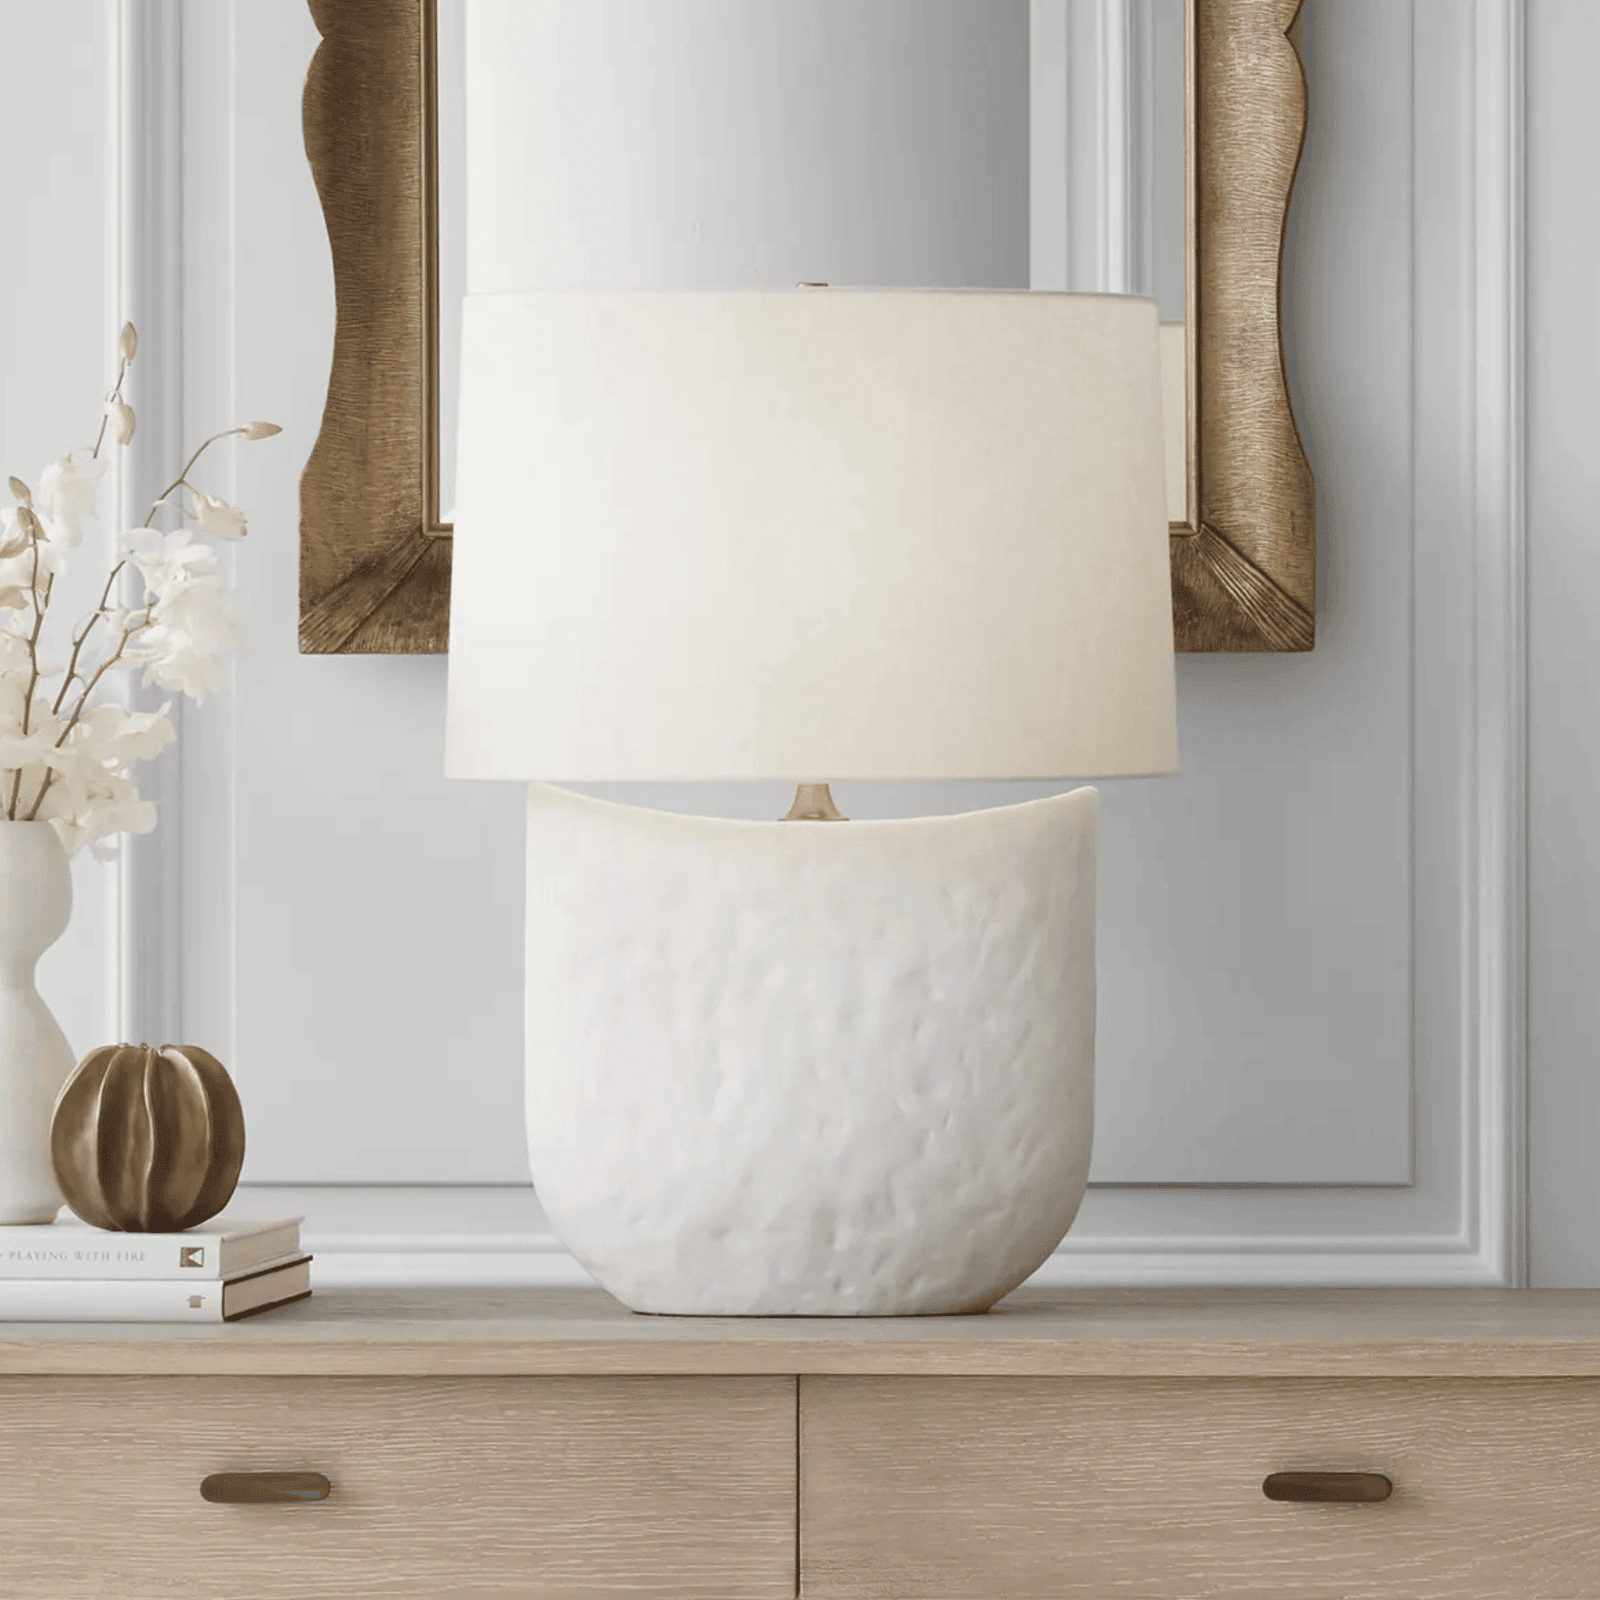
LXURI Welcomes Visual Comfort & Co.: A New Era of Luxury Lighting
We are proud to announce our partnership with Visual Comfort & Co., a brand synonymous with design excellence and[…]

Plan a Family Thanksgiving 2025 in Williamsburg, Virginia with Vrbo
Thanksgiving 2025 is the perfect time to gather loved ones in one of America’s most charming and historic destinations[…]

RAYE: From South-London Roots to Global Rhythm
Raye, the voice of a generation, is a British singer-songwriter who is redefining what it means to be a[…]

Timeless Elegance: Johnstons of Elgin Women’s Cashmere Collection
Johnstons of Elgin has dressed generations in refined comfort. Yet the women’s collection feels strikingly current.
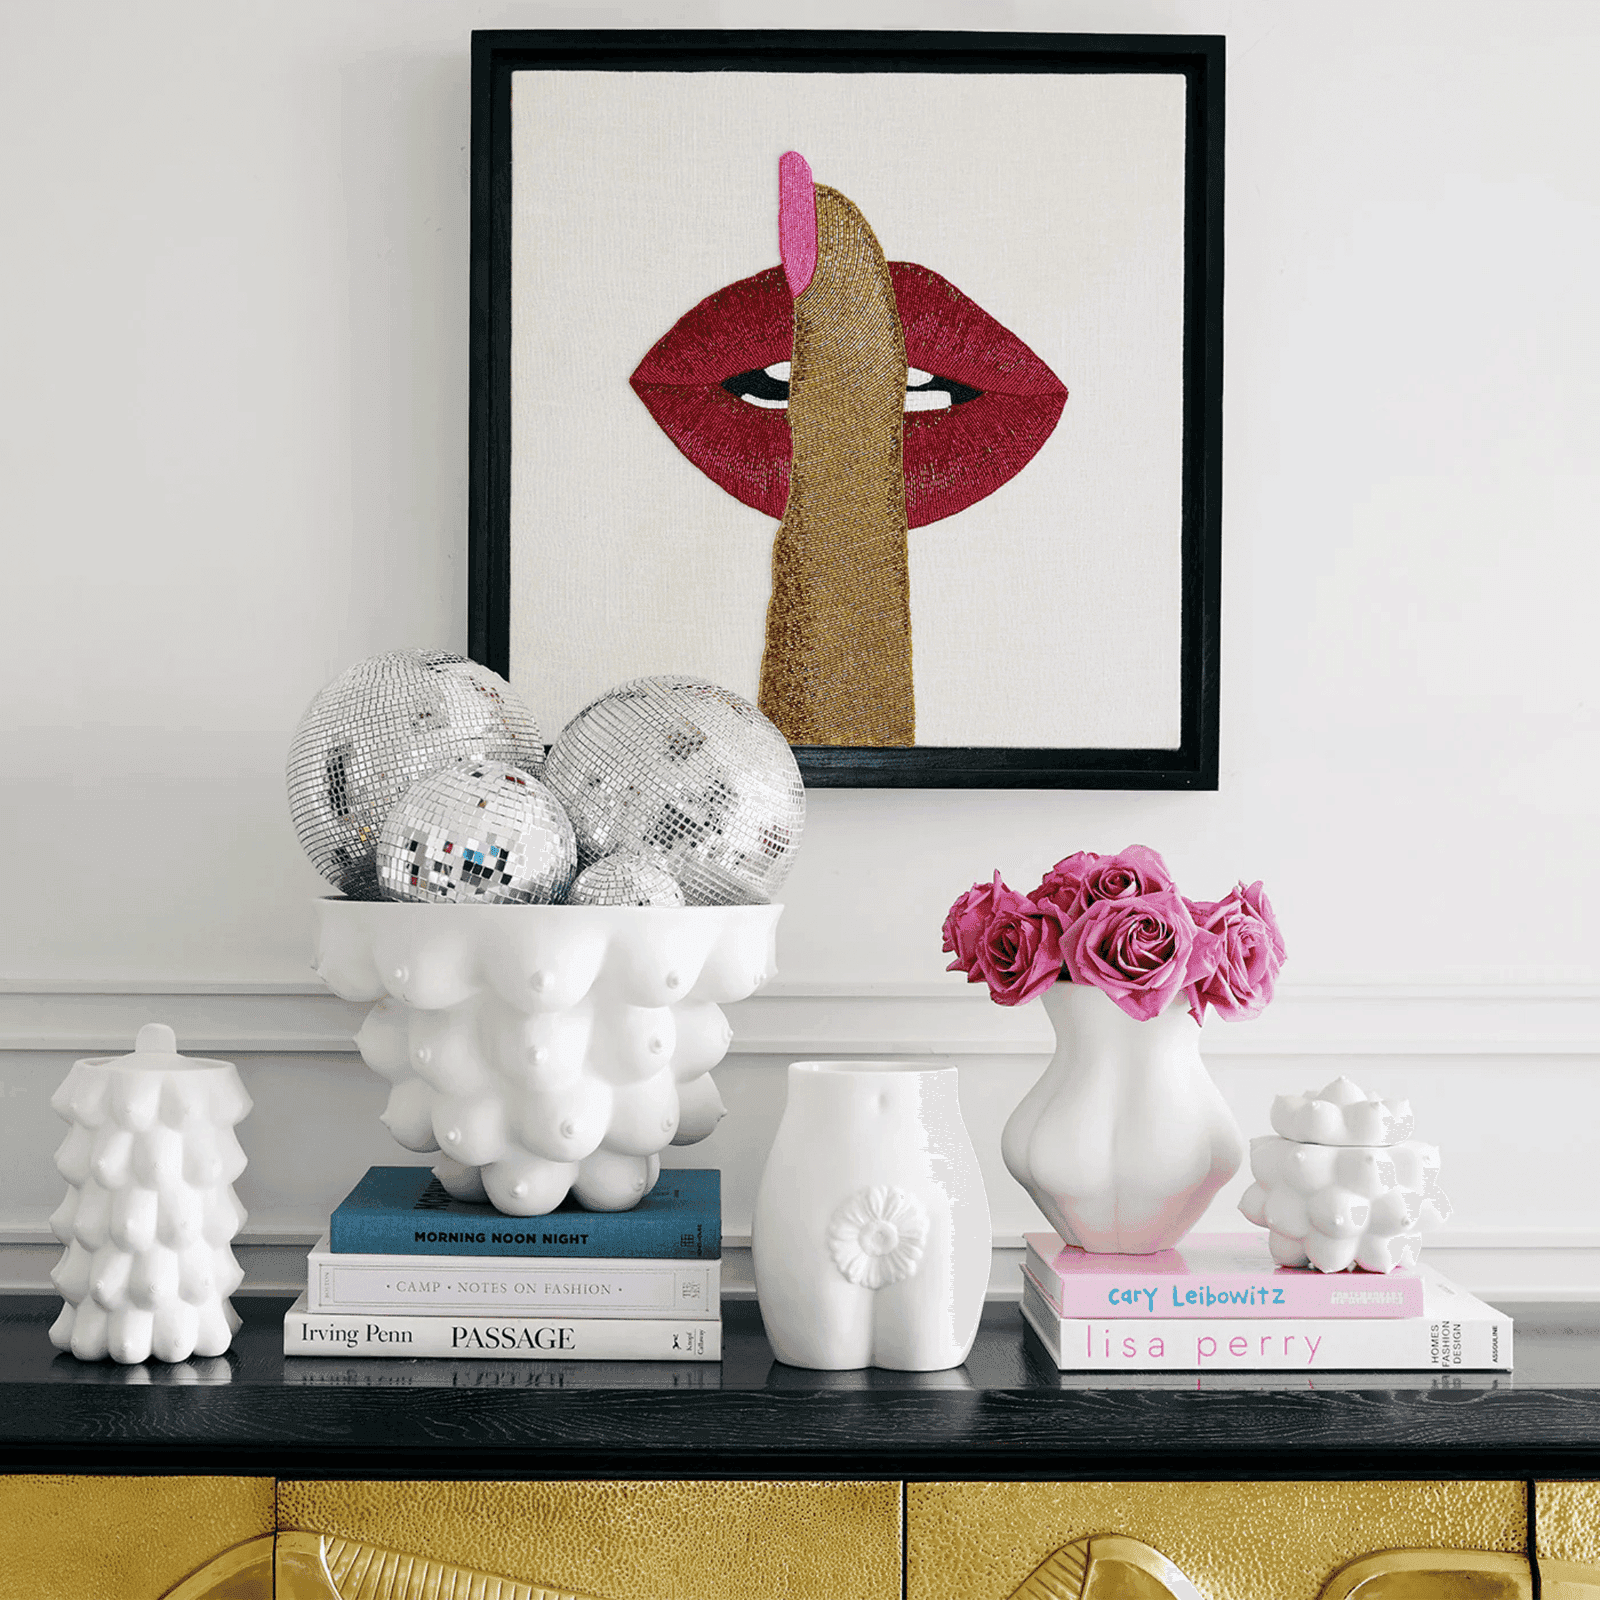
Investing in Jonathan Adler Pottery: Sculptural Statements for the Curated Home
Jonathan Adler’s pottery collection is more than just home décor—it’s a tangible expression of modern glamour and timeless design.